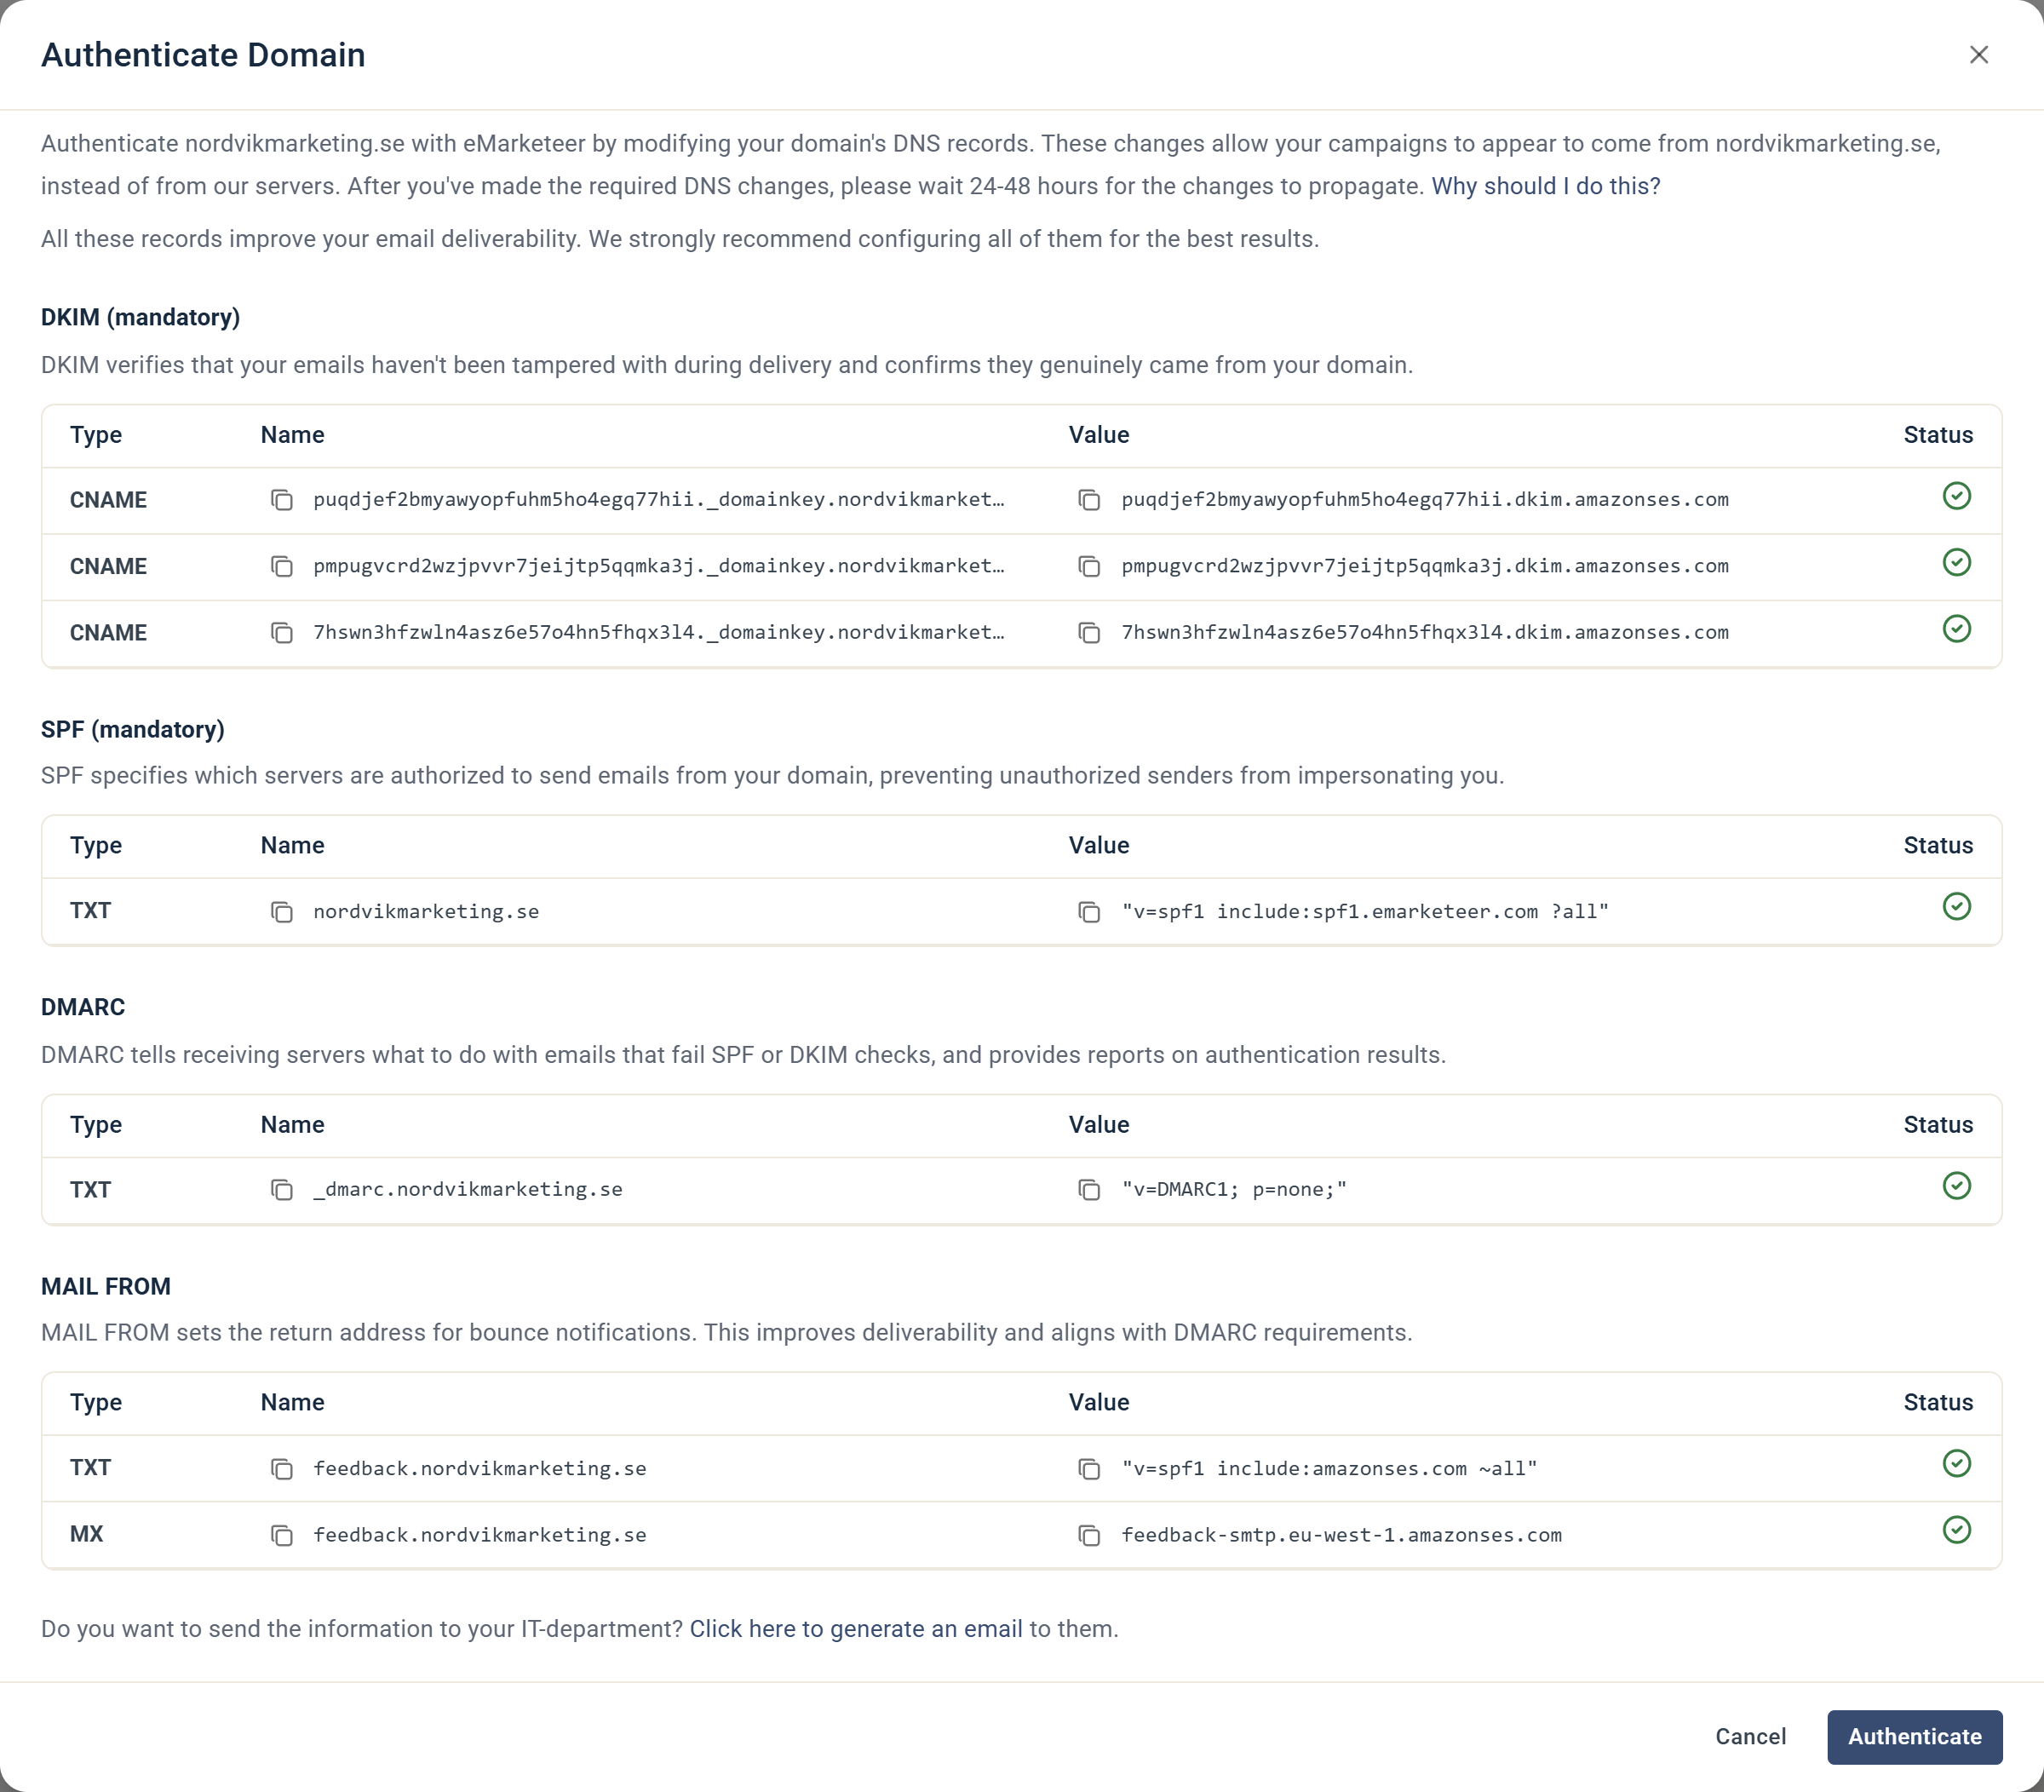
> For the complete documentation index, see [llms.txt](https://support.emarketeer.com/llms.txt). Markdown versions of documentation pages are available by appending `.md` to page URLs; this page is available as [Markdown](https://support.emarketeer.com/getting-started/account-setup/authorize-email-domain.md).
# Add Email domain
Step-by-step instructions for adding an email domain to your eMarketeer account.
{% hint style="info" %}
An authorized email domain is required to send emails from eMarketeer. Without one, outgoing email is not available on your account.
{% endhint %}
This guide walks you through authenticating your domain so you can send email from your own address with the best possible deliverability.
{% stepper %}
{% step %}
### Open Email Domains
In eMarketeer, click the gear icon in the top right and choose **Account Settings**. Open **Email Domains** and click **Add A Domain**.
{% endstep %}
{% step %}
### Enter your domain
Enter the domain you want to authorize (for example, `yourdomain.com`) in the **Domain** field of the Add Domain dialog and click **Add**.