If you have an important email or registration that you wish to remind your contacts about then this guide is for you. There is a simple way to set up a reminder email in eMarketeer which uses a dynamic selection of contacts based on their engagement with a Component such as an Email or Form. The dynamic part of the selection of contacts means that the list will update automatically based on the contact’s engagement with the campaign and this allows you to create the reminder email even before the campaign is first sent out.
The following guide will cover two common scenarios; one where you have sent an email with important information that you wish to remind the recipients to read if they haven’t done so at a specified later date, and another where you have sent a Registration Form to a group of contacts and wish to remind those who haven’t registered that the registration form is still open at a specified later date.
How to create a Reminder Email
1. Create an Email component to send as the reminder email.
- If you haven’t yet created the Reminder Email Component and want to know how to do it, then you can read our guide for this here.
2. Start the process to send this Email and choose the original group of contacts as your first Recipient Source.
- If you want to prepare a reminder email that is to be sent at a later date, choose “Scheduled Email” as the type of sendout to create in the first step.
3. Once you are on Step 2, Send Options, in the sendout process, click the [Add More Recipients] button to also add the contact selection to block for this sendout.
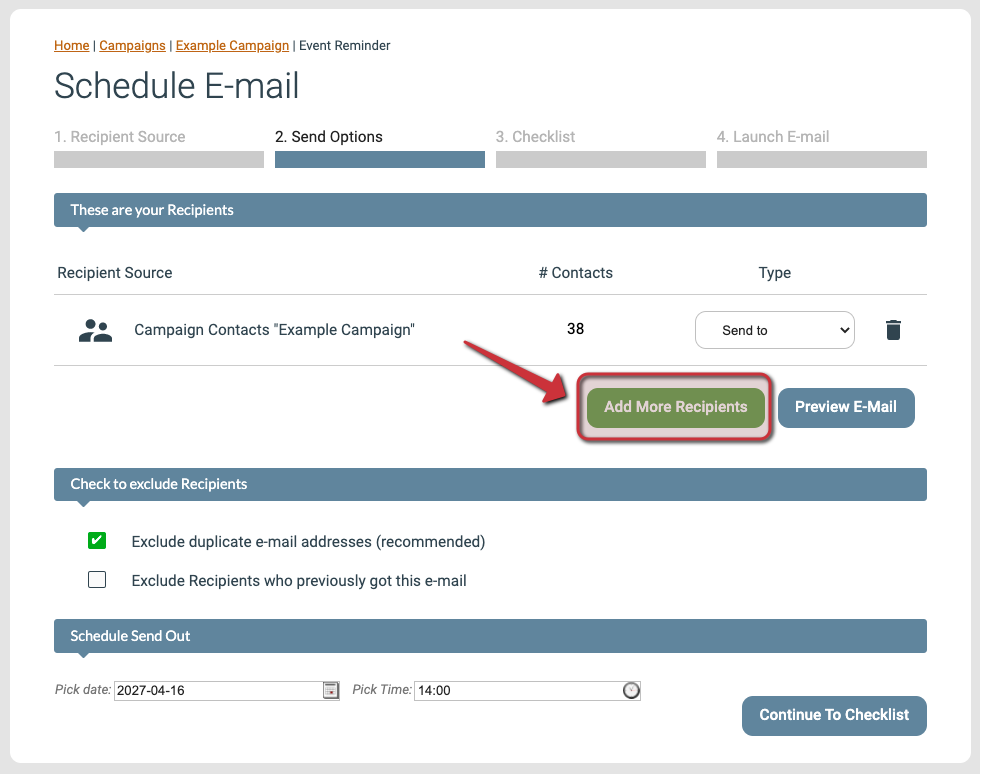
The [Add More Recipients] button on the Send Options page
4. For the second Recipient Source, select the option called “Selection”.
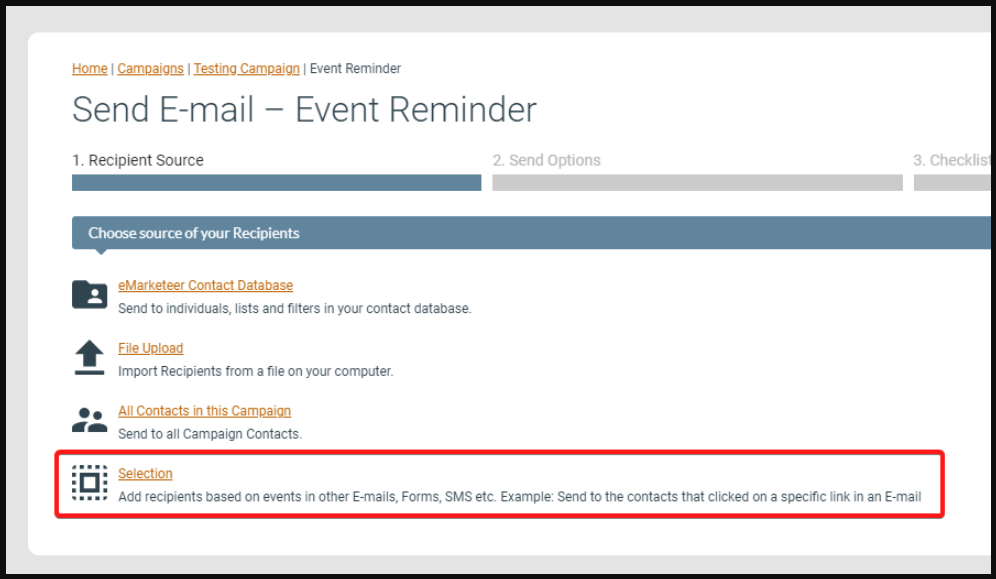
Selection is one of the options on the first Recipient Source page
5. The type of Selection to select in this step depends on what the email reminder is meant to remind about. The following examples covers a reminder relating to a previous Email and a reminder to register to a Form, but there are several other options depending on what you may need.
- If you need to make sure that the contacts read what was sent in a previous email, then you want to use a selection that creates a recipient list based on if the original contacts have opened the previous email.
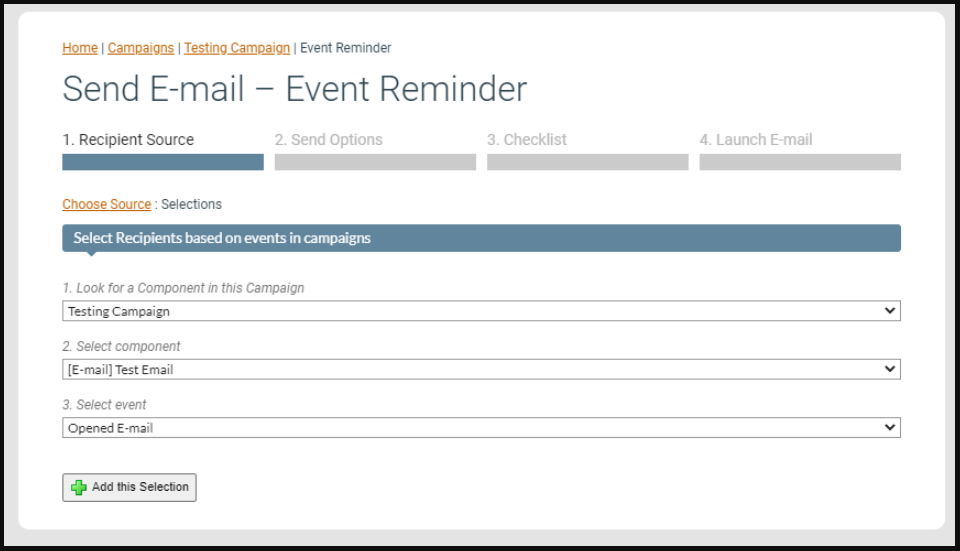
Selecting contacts that have opened the previous email as a recipient source to block in the next step
- If you have a registration Form that you wish to remind contacts that haven’t already registered about, then you want to use a recipient list based on if the original contacts have submitted an answer to the registration Form at the time of the reminder email being sent out.
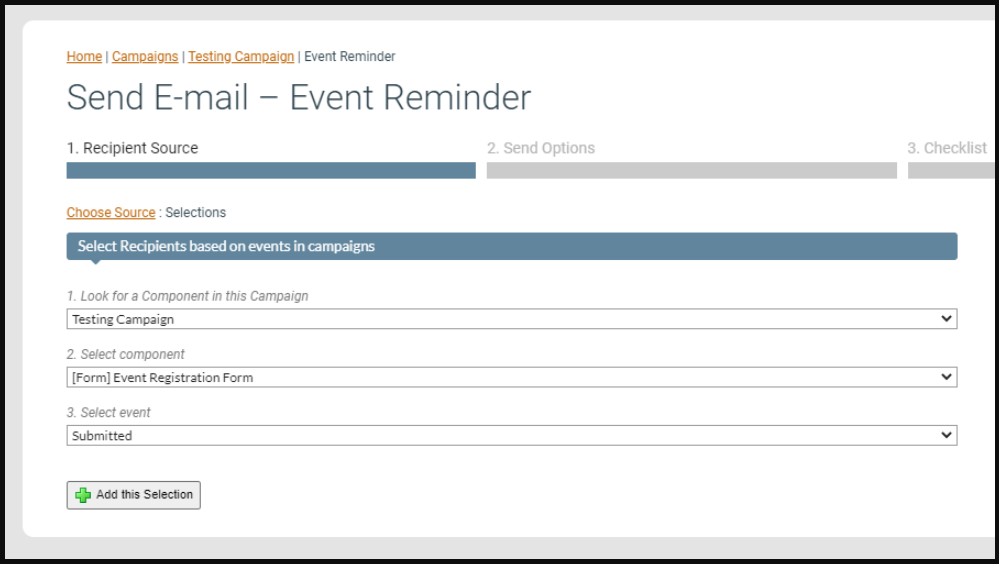
Selecting Form registrants as a recipient source to block in the next step
6. After adding your Selection of contacts the list of Recipients should show both your original recipients as added in Step 2 of this guide, and the Selection of contacts that are now to be blocked from getting the reminder email sent to them. At this point, you want to change the Type dropdown list option from “Send to” to “Block” for the Selection you just added.

Blocking the sendout by setting the Recipient Source to Block
A contact that is in a blocked recipient list will not be sent the reminder email regardless of if they are in another recipient list that is set to be sent the email.
For a scheduled email, this Selection will update dynamically over time so even if it contains zero contacts when the scheduled email sendout is created, it will still block the email from being sent to contacts that are part of the selection at the time of the email being sent.
7. You can now Continue to the Checklist and Send or Schedule the reminder email.
Thank you for reading this article, if you still have questions about this then please get in touch with the support via the appropriate channels as found on this page when logged in to your account.