Sending an Email may seem complicated at first, but there is an easy way to do it which will be shown in this article.
We will ignore the more complex features in favor of simply going through how to straight-up send an Email to a list of recipients.
Before we start you will need to have an Email Component to send and you can find the guide for creating an Email on the following link:
1. Starting the sendout process
The first thing to do is navigate to the Campaign that contains the Email Component you want to send and click the [Send] button as shown in the image below.
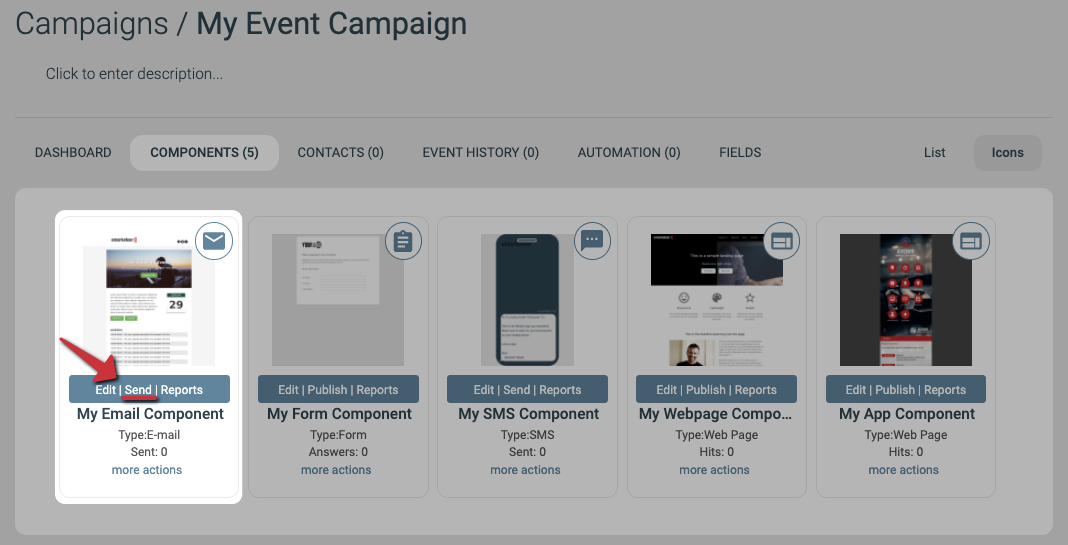
Starting the Email Sendout process
2. Select [Send Now!] as the type of Email Sendout
In this guide, we will go through how to send an Email right away, but you also have the option to Schedule the Email to be sent at a later time.
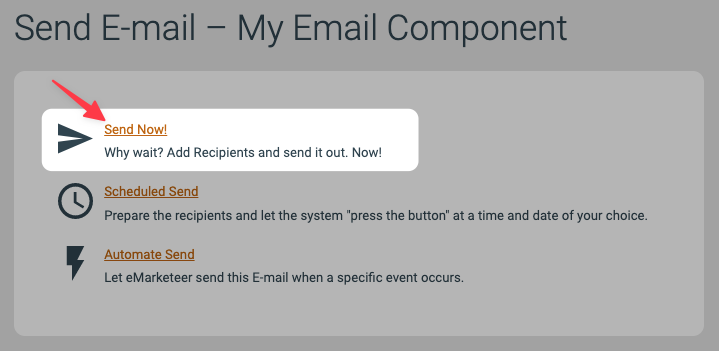
Sending the Email now
3a. (Optional) Sending a test email to yourself first
If you want to see how the Email looks in your own email client before sending it out to your contact list, you can do it from this page as shown in the image below.
To quickly send a test email to yourself you simply write your email address in the address field and then click the [Quick Send] button.
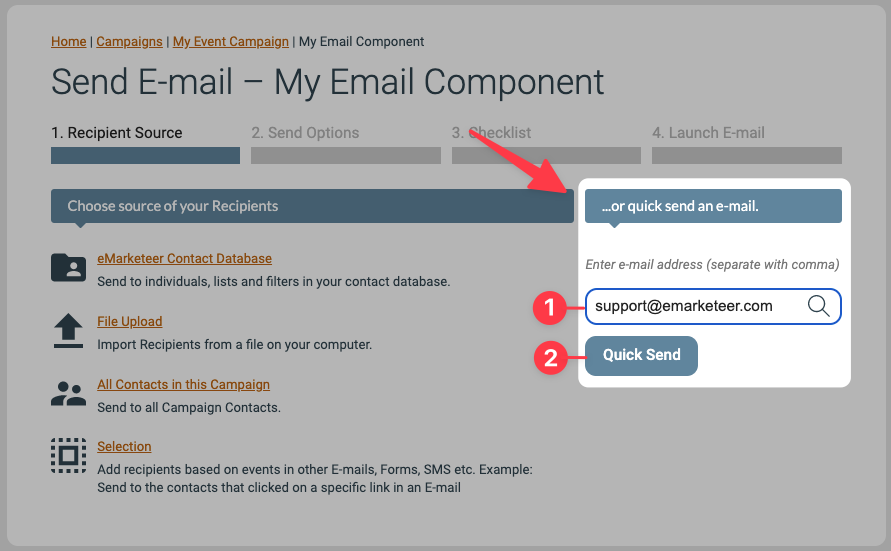
Quick Send a test Email to yourself
3b. Sending the Email to your Contact List
This section will go through the 3 steps to follow to send the email to Contacts in a Contact List.
If you don’t have a Contact List to use then the following two articles explain how to create a new Contact List and how to import Contacts from a spreadsheet to the List.
The first step is to select the option eMarketeer Contact Database on the first page.

Step 1 for selecting Email recipients
The second step is to select Contact List on the second page.
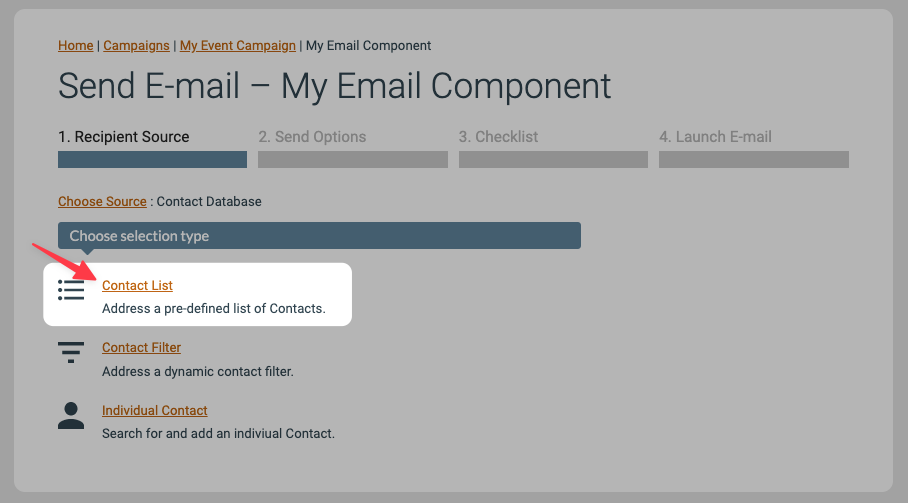
Step 2 for selecting Email recipients
The third step is to select your Contact List in the dropdown menu on the third page, and then click the [Add This List] button.
In the example image below I’ve chosen a list called “Example List” that contains 15 Contacts as we’ll see later.
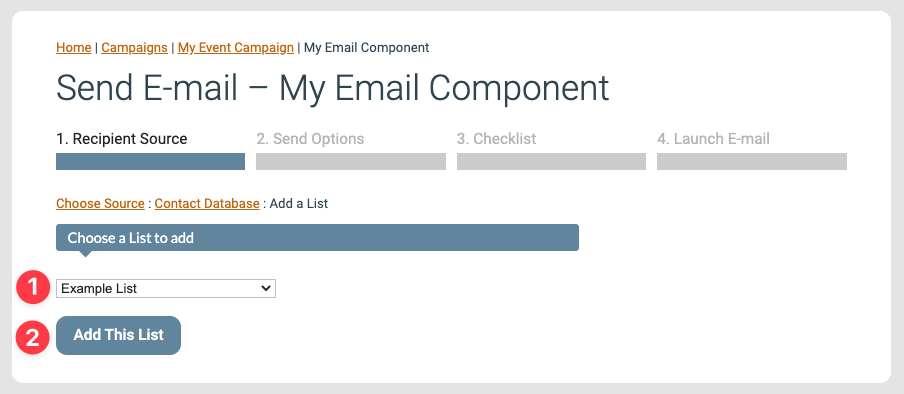
Step 3 for selecting Email recipients, choosing a Contact List with recipients
4. Continuing to the Checklist
This next page, called “2. Send Options”, is where you can see the chosen list(s) of recipients as well as change some options when making more complex Email Sendouts, but we can skip the details of this page for now as we’re only doing a simple sendout to a predefined contact list.
Click the [Continue To Checklist] button to proceed to the next step in the sendout process.
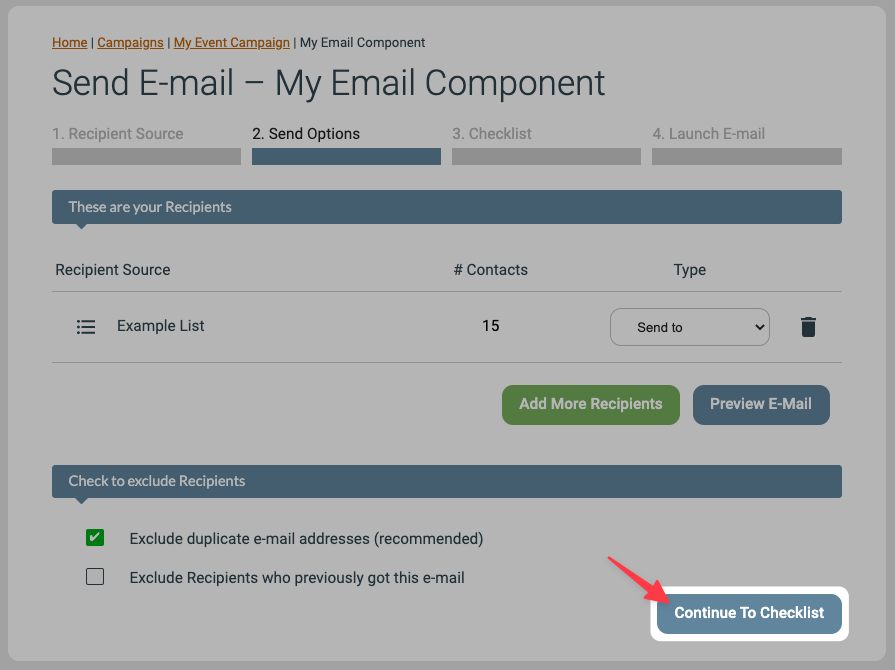
Proceed to Checklist
5. Looking over the Checklist and Launching the Email
The Checklist is where the system will show if there are any contacts from your list that will not be addressed and sent the Email. In short, eMarketeer automatically makes sure that the email isn’t sent to contacts that are unsubscribed or otherwise shouldn’t be sent the Email and blocks those contacts. You do not usually need to concern yourself with the numbers on this page as it’s handled automatically, but if you want to know more then you can read this article:
The important part of this page for this guide is the [Launch Email] button that will tell the system to address and send out the Email to the recipients in the Contact List. Click this button to proceed.
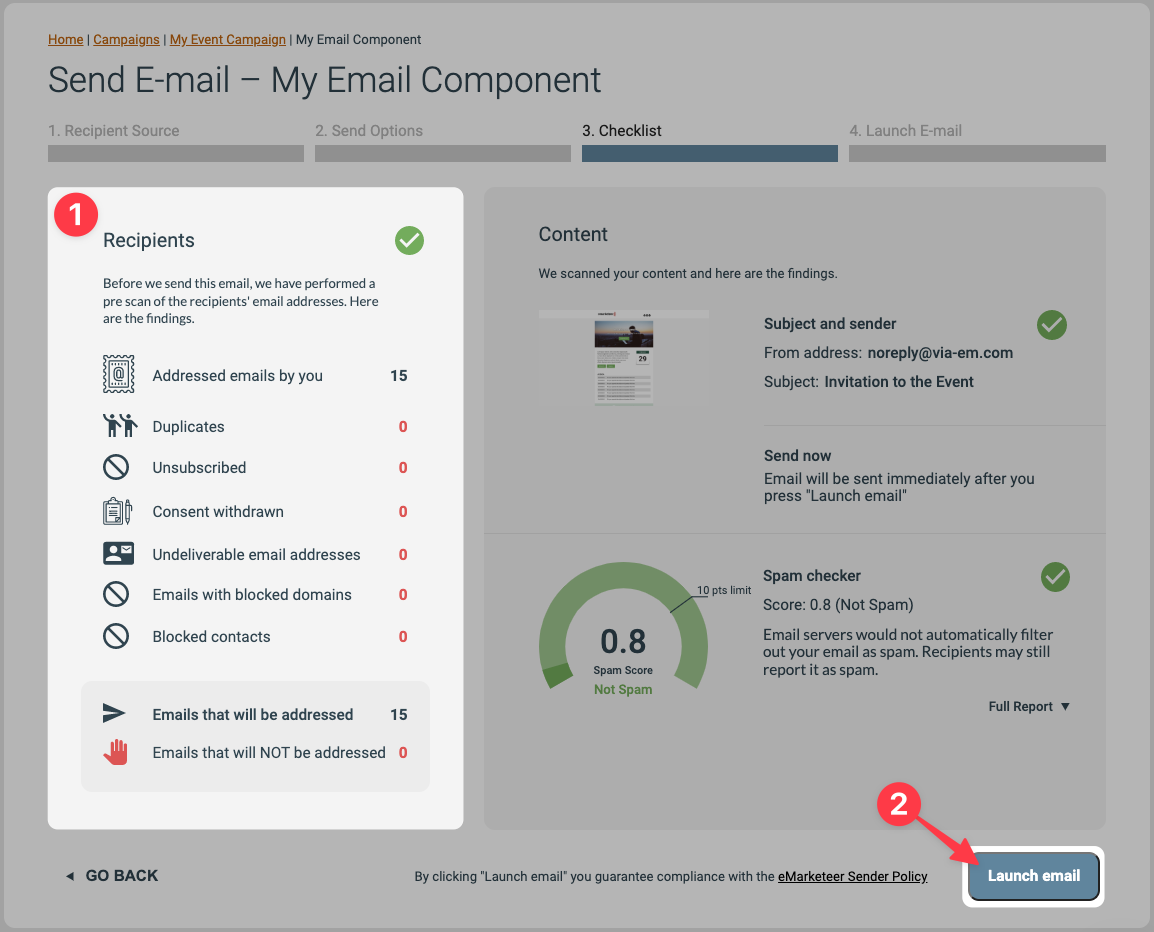
Checklist results and Launching the Email Sendout
6. The Email Sendout process is complete
After launching the email it is sent over to the email servers to be addressed and sent to your recipients, which usually only takes a few minutes.
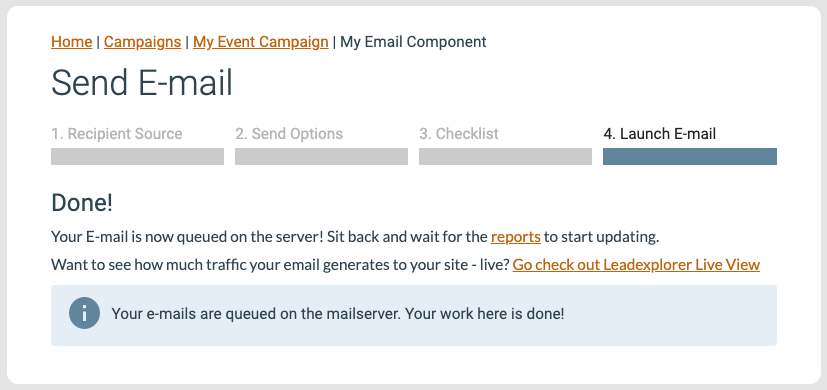
The Email Sendout has been Launched and the system starts the process of sending the Email
You can track the progress of the sendout and see details about the Email in the Email Report, more about the Email Report can be found in the following article: