This article covers advanced use of eMarketeer and is outside the scope of standard Support.
If you need help with Developer features then contact your reseller to be put in contact with a development consultant or technician.
Users with Developer permissions have the ability to make significant changes to eMarketeer Components, such as editing the HTML of a content block to change how it looks and operates. When you’ve done a large change to a content block you may want to save it for future use, which we will cover in this guide. A saved block will be accessible for all users that edit the Component in the future, not only those with Developer permissions, and if the Component is saved as a Template then the saved block will be accessible in all new components that are created from that Template as well.
Contact your account’s Account Administrator if you need to be given Developer permission on your user account.
How to Save a Custom Content Block

Saving a Block
1. Go into Developer Mode
If you have Developer Permissions you will see the button [Enable Developer Mode] in the Tools menu.
2. Select the Block to Save
Double-click the Custom Block to open the block’s configuration menu.
3. Go to Block Settings
Navigate to the Block’s Settings tab in the configuration menu.
4. Give a Label to the Block
The Label is the name that is shown in the Component Content section when in use.
Example: 1 Column: Text (1/1)
5. Click Save as Block
The [Save as Block] button will open the window where you can save the custom block to the component.
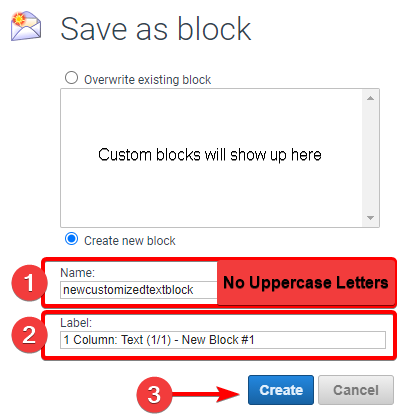
Save as block window
1. Set a Container Name
The container name is used by the system to identify the Custom Block and can be seen in Developer Mode.
2. Set a Unique Label for the Block
This will be the “Name” that will be shown to all Users when using the Custom Block.
3. Create the Custom Block
Clicking the [Create] button will save the Custom Block and adds it to the list of blocks that later can be accessed from the “Add Content Block” menu by all users.
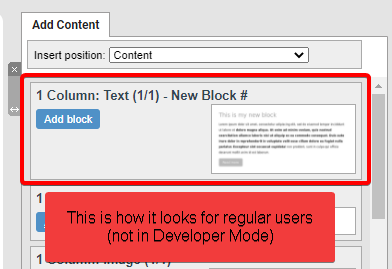
The Block as shown in the Add Content list
Custom Blocks in Templates
If you wish this block to be available in new components created from Templates then you can either add the block to a template you already have (edit the template), or create a new template from a component where it’s located as in the image below.
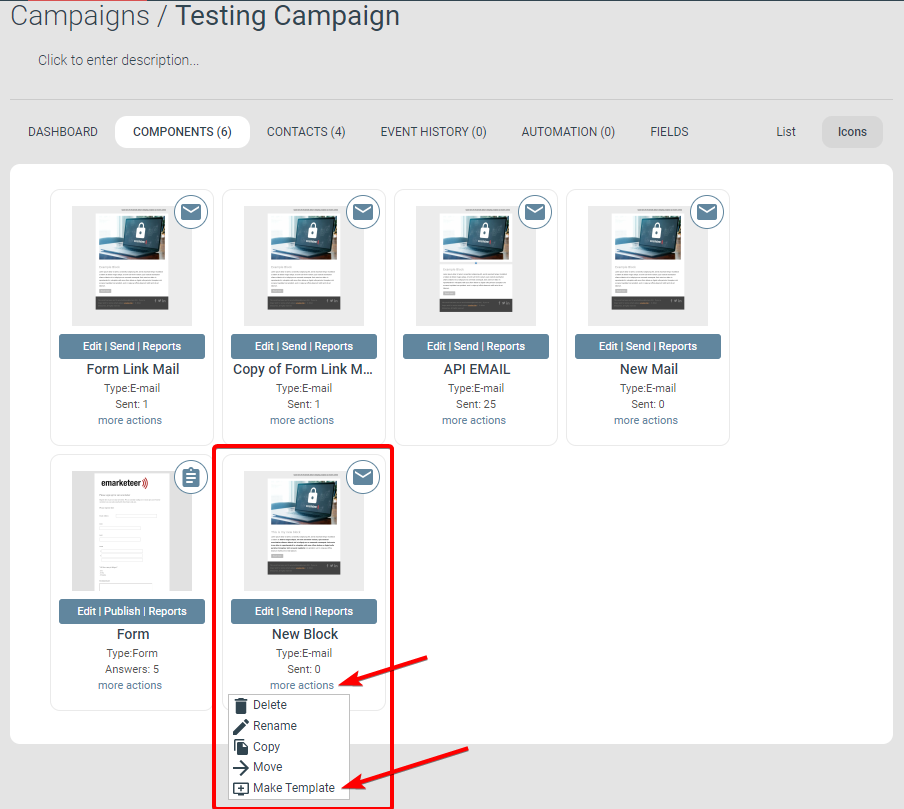
Creating a Template from a Component with a Custom Block
As mentioned in the previous section, any new Component created from this Template would also have access to the Custom Block. Additionally, if the Custom Block is later changed and updated in the Template, it would also be updated in the Components already created from that Template.