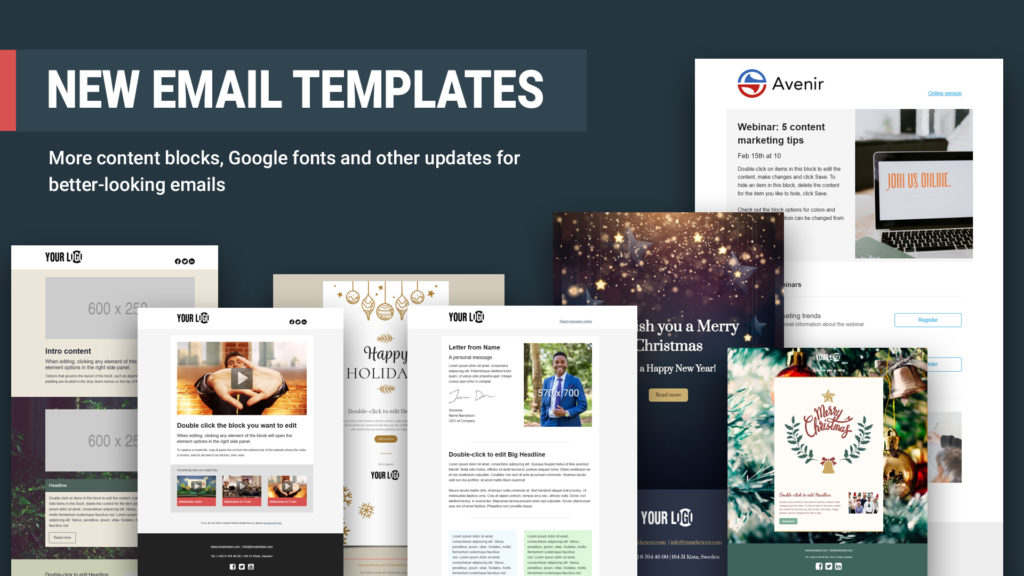
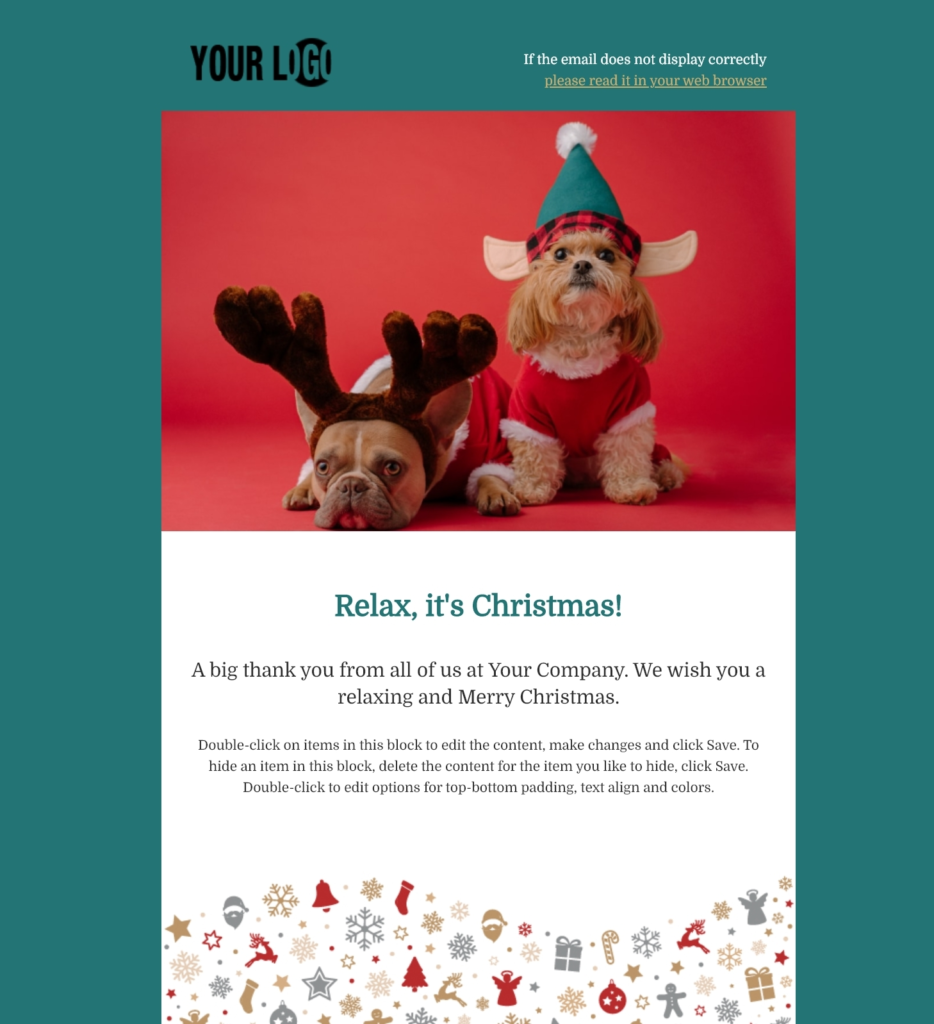
With eMarketeer’s free email templates, you get a head start when building your emails. There are dozens of templates to choose from that are all mobile-friendly and easy to customize to fit your brand and messaging.
Introducing new email templates – what you need to know
The new email templates have more than just a more modern look. First off, they are built using a new root code, meaning that the emails look even better in more email clients than previously. But also, you can enjoy more benefits, like:
- More design options. You get over 60 different types of content blocks to update or tweak your design. The new content blocks are built to better fit together for simpler editing.
- Higher image resolution.
- The link share settings let you set title, description, and image that’s then automatically used when you share your email on social media.
- Want to use a Google font for your email? The new email supports them without any coding.
Since these templates have a higher standard, they replace the other previous templates. If you have saved templates, you will still find them in your account. However, they are still based on the old template code, so to enjoy the benefits, we highly recommend that you re-build your saved templates using one of the new templates.
Need help updating your saved template to the new root template? Reach out to us at sales@emarketeer.com and we’d be happy to help you out.


3 tips about the email templates
Start by choosing the template you’d like to use. There are several different to choose from to suit your message, for example, event invitations, product promotions, newsletter, and more. In the editor, you can easily update the template to fit your brand and message with the drag-and-drop feature. Apart from the 60+ different types of content blocks you have at your disposal, below we list 3 other tricks you can use to make your recipients love your emails.
The following tricks are all set up in the email settings box in the editor.
1. Link sharing settings
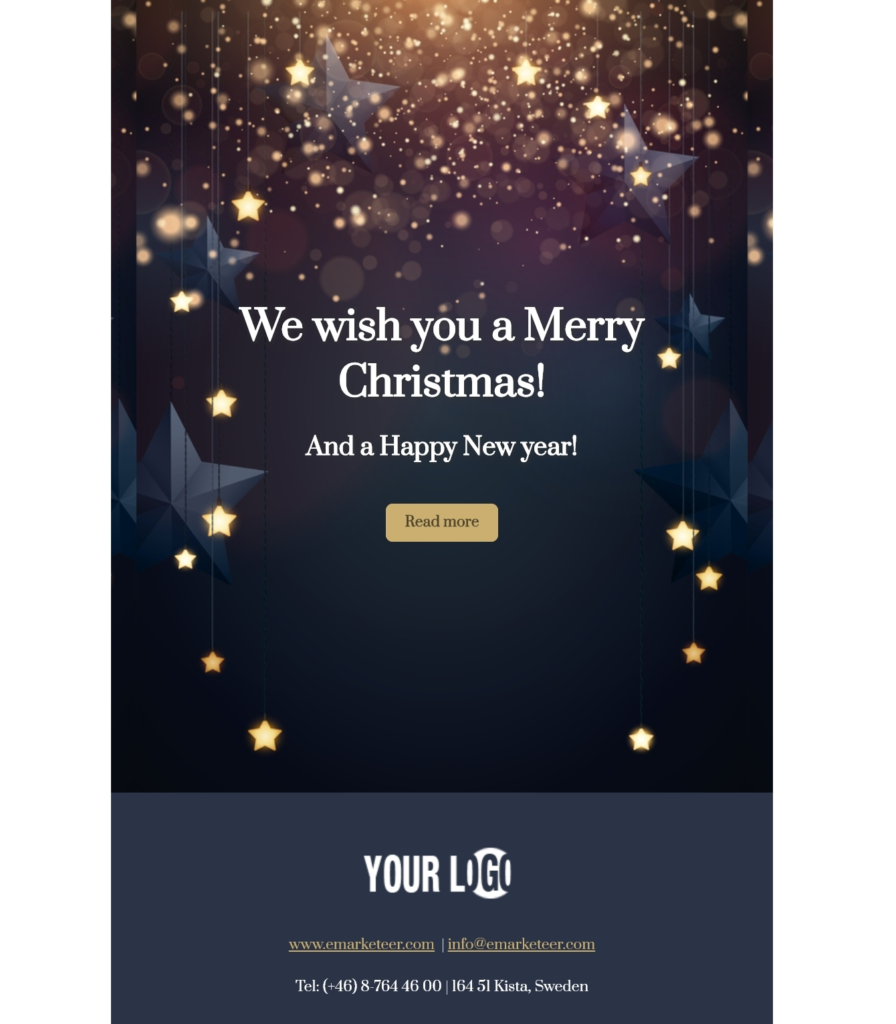
Create an eye-catching social media post with your email! At the very top of the email template in the editor, you see the box called email settings. This is where you give the email a title (for example, your subject line), a description, and an image. When you share the link to your email on social media, the post link then uses the image, title, and description that you set automatically. Note that this is not where you set your subject line for the email, this is purely for the link-sharing information. (You set the subject line and sender information in the left-hand side menu.)


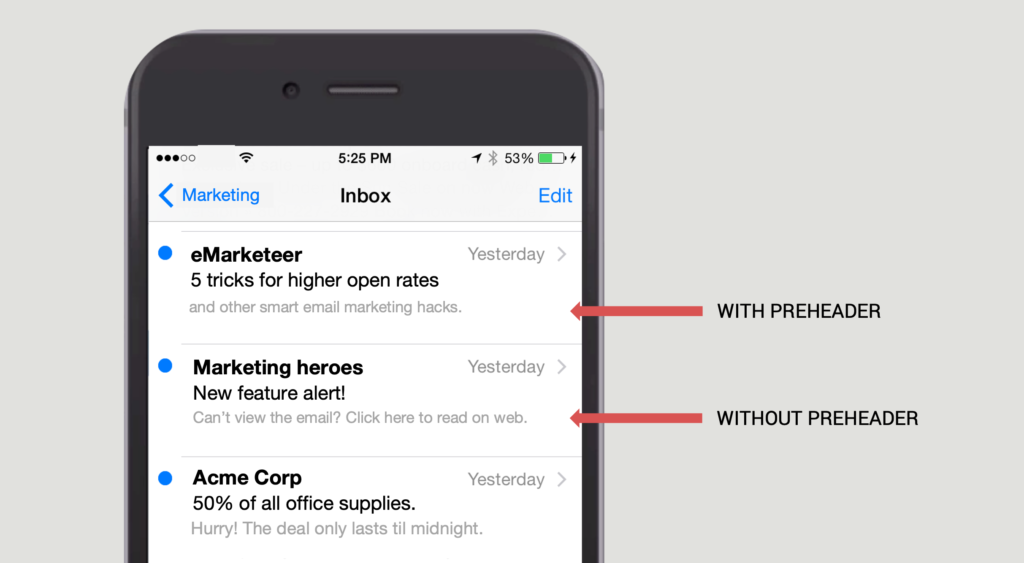
2. Set your pre-header
The preheader is your second shot (after the subject line) to convince your recipients to open your email. The preheader is the text you see right after the subject line when an email arrives at the inbox. In the email settings box, click the field called preheader and use this field to either lengthen your subject line or present a preview of the email content. Good to know is that this text is not displayed in the email itself, but only as a preview in the recipient’s inbox. If you choose to not edit this field, the first piece of text in the email is shown by default. Often, it’s phrases like “read on web” or something similar, so we highly recommend using the preheader field. The length of the preheader depends on the email clients that the recipients use, but we usually recommend XXX characters for the subject line and XXX for the preheader.
3. Want to use a Google font in your email? Here’s how
Want to use a Google font in your email? It’s quickly done and the best part is that there’s no coding needed! Double-click the email settings box and go to the tab called “Google Fonts” in the panel on the right-hand side. In the text box, type the name of the font you’d like to use. Note that it’s case sensitive and needs to be written exactly as Google has named the font. In this panel, you can also choose if you only want to use the font for headlines or all text in the email. Don’t forget to hit “save!”
Note that in case the recipient’s email client does not support web fonts (like Google fonts) the font set under “styles” will be used in the email instead.
Bonus tip!
Create stunning images for your email with the image editor in eMarketeer. The image editor allows you to easily update your images with filters, text, or other graphical elements, but it also comes with a stock image library that you are free to use. In the stock image library, you find two million photos, 900 fonts, and 700 icons to choose from that are all free of charge.
Curious to get to know the image editor? We put together this tutorial on how to edit or create images in eMarketeer.